In this beginner-friendly tutorial, I show you how to create this stunning upholstered bench using affordable materials — including an IKEA base hack you’ll love. This project is beginner-friendly, renter-approved, and perfect for elevating any space with a touch of modern, cozy luxury—ideal for entryways, foot of the bed, or even the living room.
Project Overview
Estimated Time: ~2–3 hours
Skill Level: Beginner
Materials Needed:
- (6) Ikea Salad Blanda Matt Serving Bowls (11" Diameter)
- Ikea Lack TV Unit (Used for the Tabletop)
- Wood Adhesive
- Wood Filler
- Sanding Kit
- Caulk Gun
- Black Paint
- Custom Gold Name Plate
- Foam cushion (2" Wide)
- Quilt Batting
- Black Foam Poster Board or Wood Panel
- Staple gun
- Xacto Knife
- Upholstery fabric (Your Choice)
- Scissors
Step‑by‑Step Guide
Part 1: Bench Assembly
1. Assemble the Legs of the Bench
Flip your Ikea Blanda bowls upside down and remove the stickers, then rearrange them in whatever design you like—these will serve as the two “legs” of the bench. I opted to use 3 bowls per leg—with 2 bowls creating a complete circle followed by one as a half circle.
Using strong construction adhesive, apply a generous amount to the rim of each upside-down bowl. Let it sit for an hour.
Pro Tip: Place something heavy (like books) on top while drying to ensure a strong bond.
2. Add Wood Filler
After the glue dries, place a generous amount of the wood filler on the seams of the bowls to fill in the gaps. Let this sit for one hour as well.
3. Sand The Legs
Sand down the wood filler using a sandpaper of your choice, making the seams as smooth as possible. Then sand the entire surface of the legs until smooth. This will help prep for the paint.
4. Paint or Stain
Using the paint of your choice, paint the legs and sit until completely dry. If you're staining, do this now and let it dry completely.
5. Attach the Tabletop
Mark where you want your bowl “legs” to go. I placed mine a few inches in from each end to create a balanced silhouette. Using strong construction adhesive, apply a generous amount to the rim of each bowl. Carefully press your tabletop down onto the bowls. Adjust as needed, and clamp or tape in place until the adhesive sets (usually 24 hours).
Pro Tip: Place something heavy (like books) on top while drying to ensure a strong bond.
Step‑by‑Step Guide
Part 2: Upholster Tutorial (No Sew Method)
6. Trace & Cut Foam Board (or Wood Panel) & Cushion To Size
- Measure and cut foam board & cushion to match the seat panel’s dimensions
- Use an xacto knife to create a straight edge
7. Attach Cushion to Foam Board
Use spray adhesive to attach the cushion to the foam board (or wood panel)
Pro Tip: Spray both surfaces and let it sit for 2-3 minutes before attaching it.
8. Upholster the Seat
This is where I apply neat folding and stapling method:
- Wrap the foam board and cushion combo with a thin layer of batting like a Christmas present, using a staple gun to secure.
- Center the foam and batting on the fabric.
- Fold and staple the fabric on one side, then across the opposite side—pulling it taut as you go.
- Finish the corners using a tidy “mitre fold” for a clean, tailored look.
9. Assemble The Bench
Once the seat is securely upholstered, reattach it to the bench base, You can use screws to ensure everything is secured.
10. Complete The Look
After finding the perfect location for your new masterpiece, consider adding a Throw pillow or blanket to tie it all together.
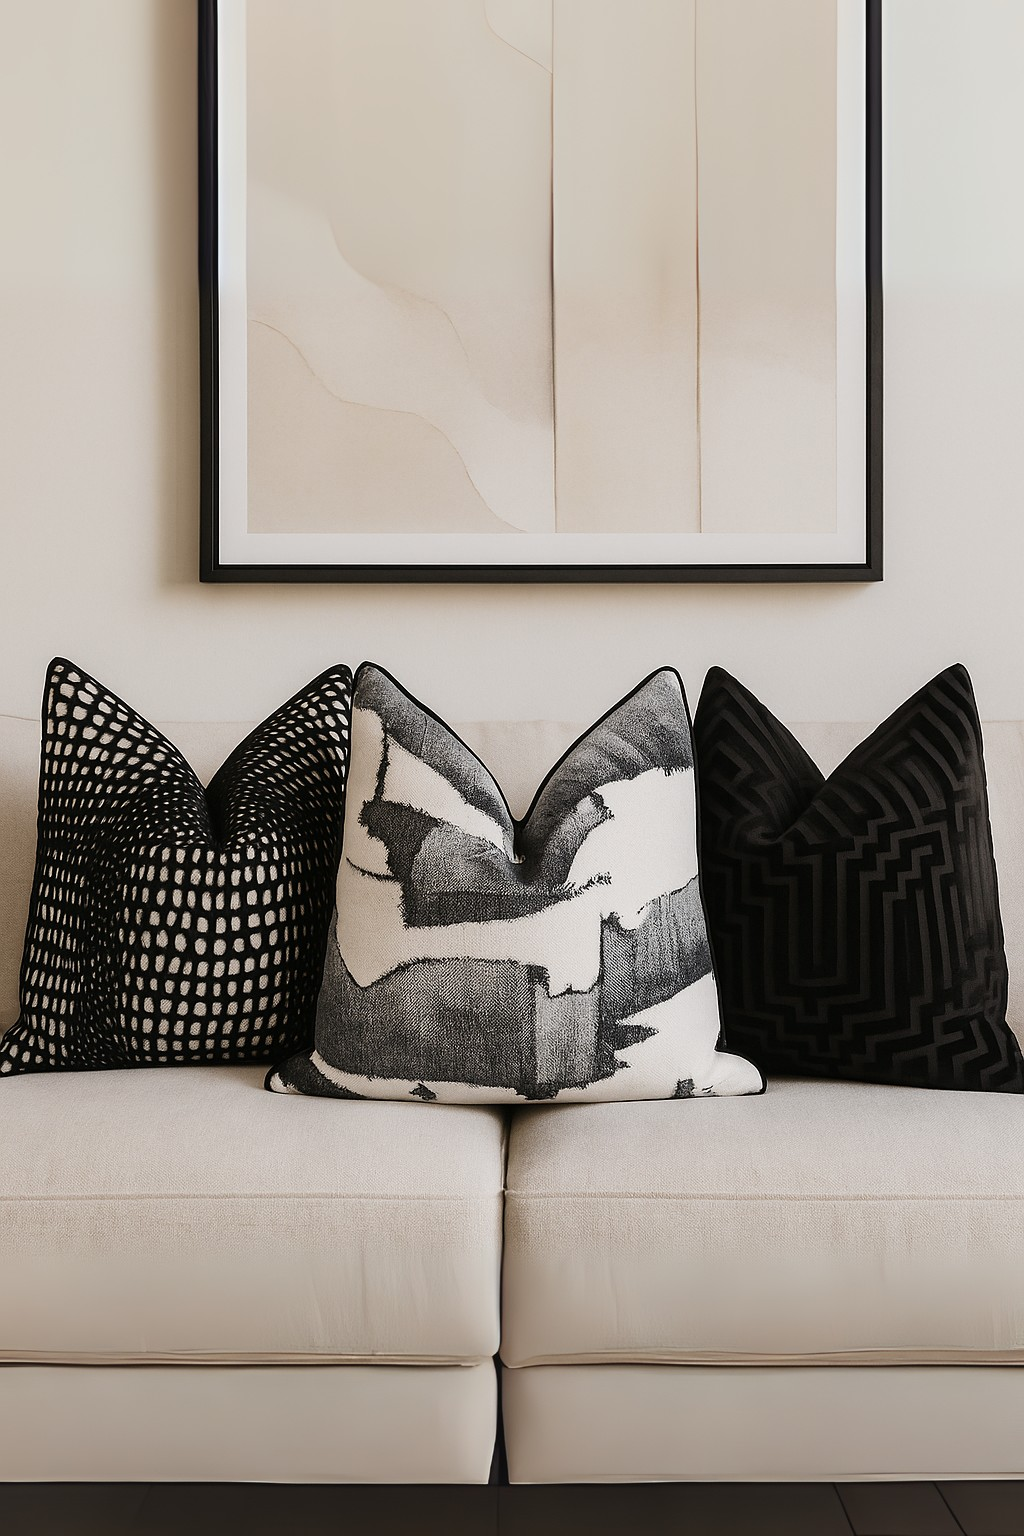
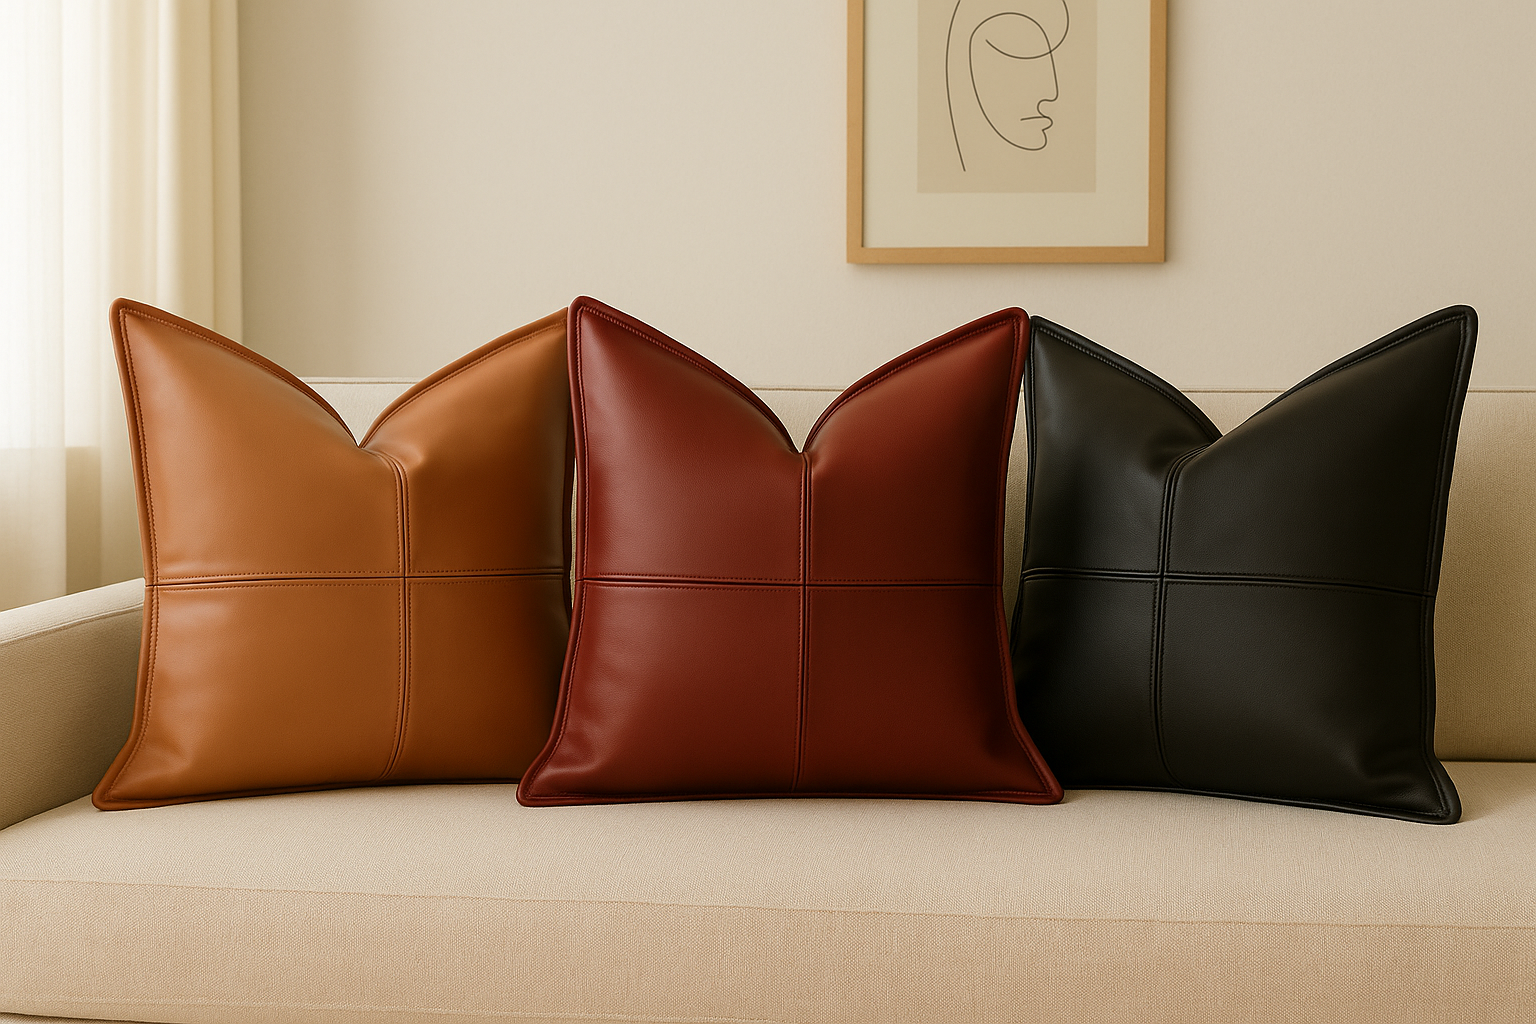
Style Tip: Pair It With a Brittany Christina Home Throw Pillow

I paired mine with the Muse Collection Luxury Throw Pillow in Sandstone to add a soft yet sophisticated contrast to the space. It's the perfect accent to complement the work of art you just created!
Because your home? It’s your gallery.
Tips & Tricks
- Fabric choice matters: I suggest upholstery-grade fabric for durability—especially if the bench will get frequent use.
- Batting adds comfort: Adds extra plushness and helps hide foam edges.
- Corner finish: The mitre fold trick makes upholstery look crisp without bunching.
- Customizable finish: Leave exposed staples if you like an industrial look—or add decorative trim to disguise them.
Final Thoughts
This project is quick, rewarding, and beginner-proof. With minimal tools and materials, you can reinvent a simple piece into a statement. For your next entryway refresh or bedroom makeover, this upholstered storage bench is a brilliant DIY upgrade.
Ready to Try It?
If you recreate this DIY console table, tag me on Instagram @BrittanyChristinaHome and use the hashtag #BCHomeDIY—I’d love to see how you make it your own.